Saved Table Setups
A setup is a saved snapshot of an entire table. Instead of dragging out your board, shuffling decks, and laying out player areas at the start of every session, you save that arrangement once and reload it in a single click. Setups are one of the most time-saving features in Designer Den, so they're worth understanding well.
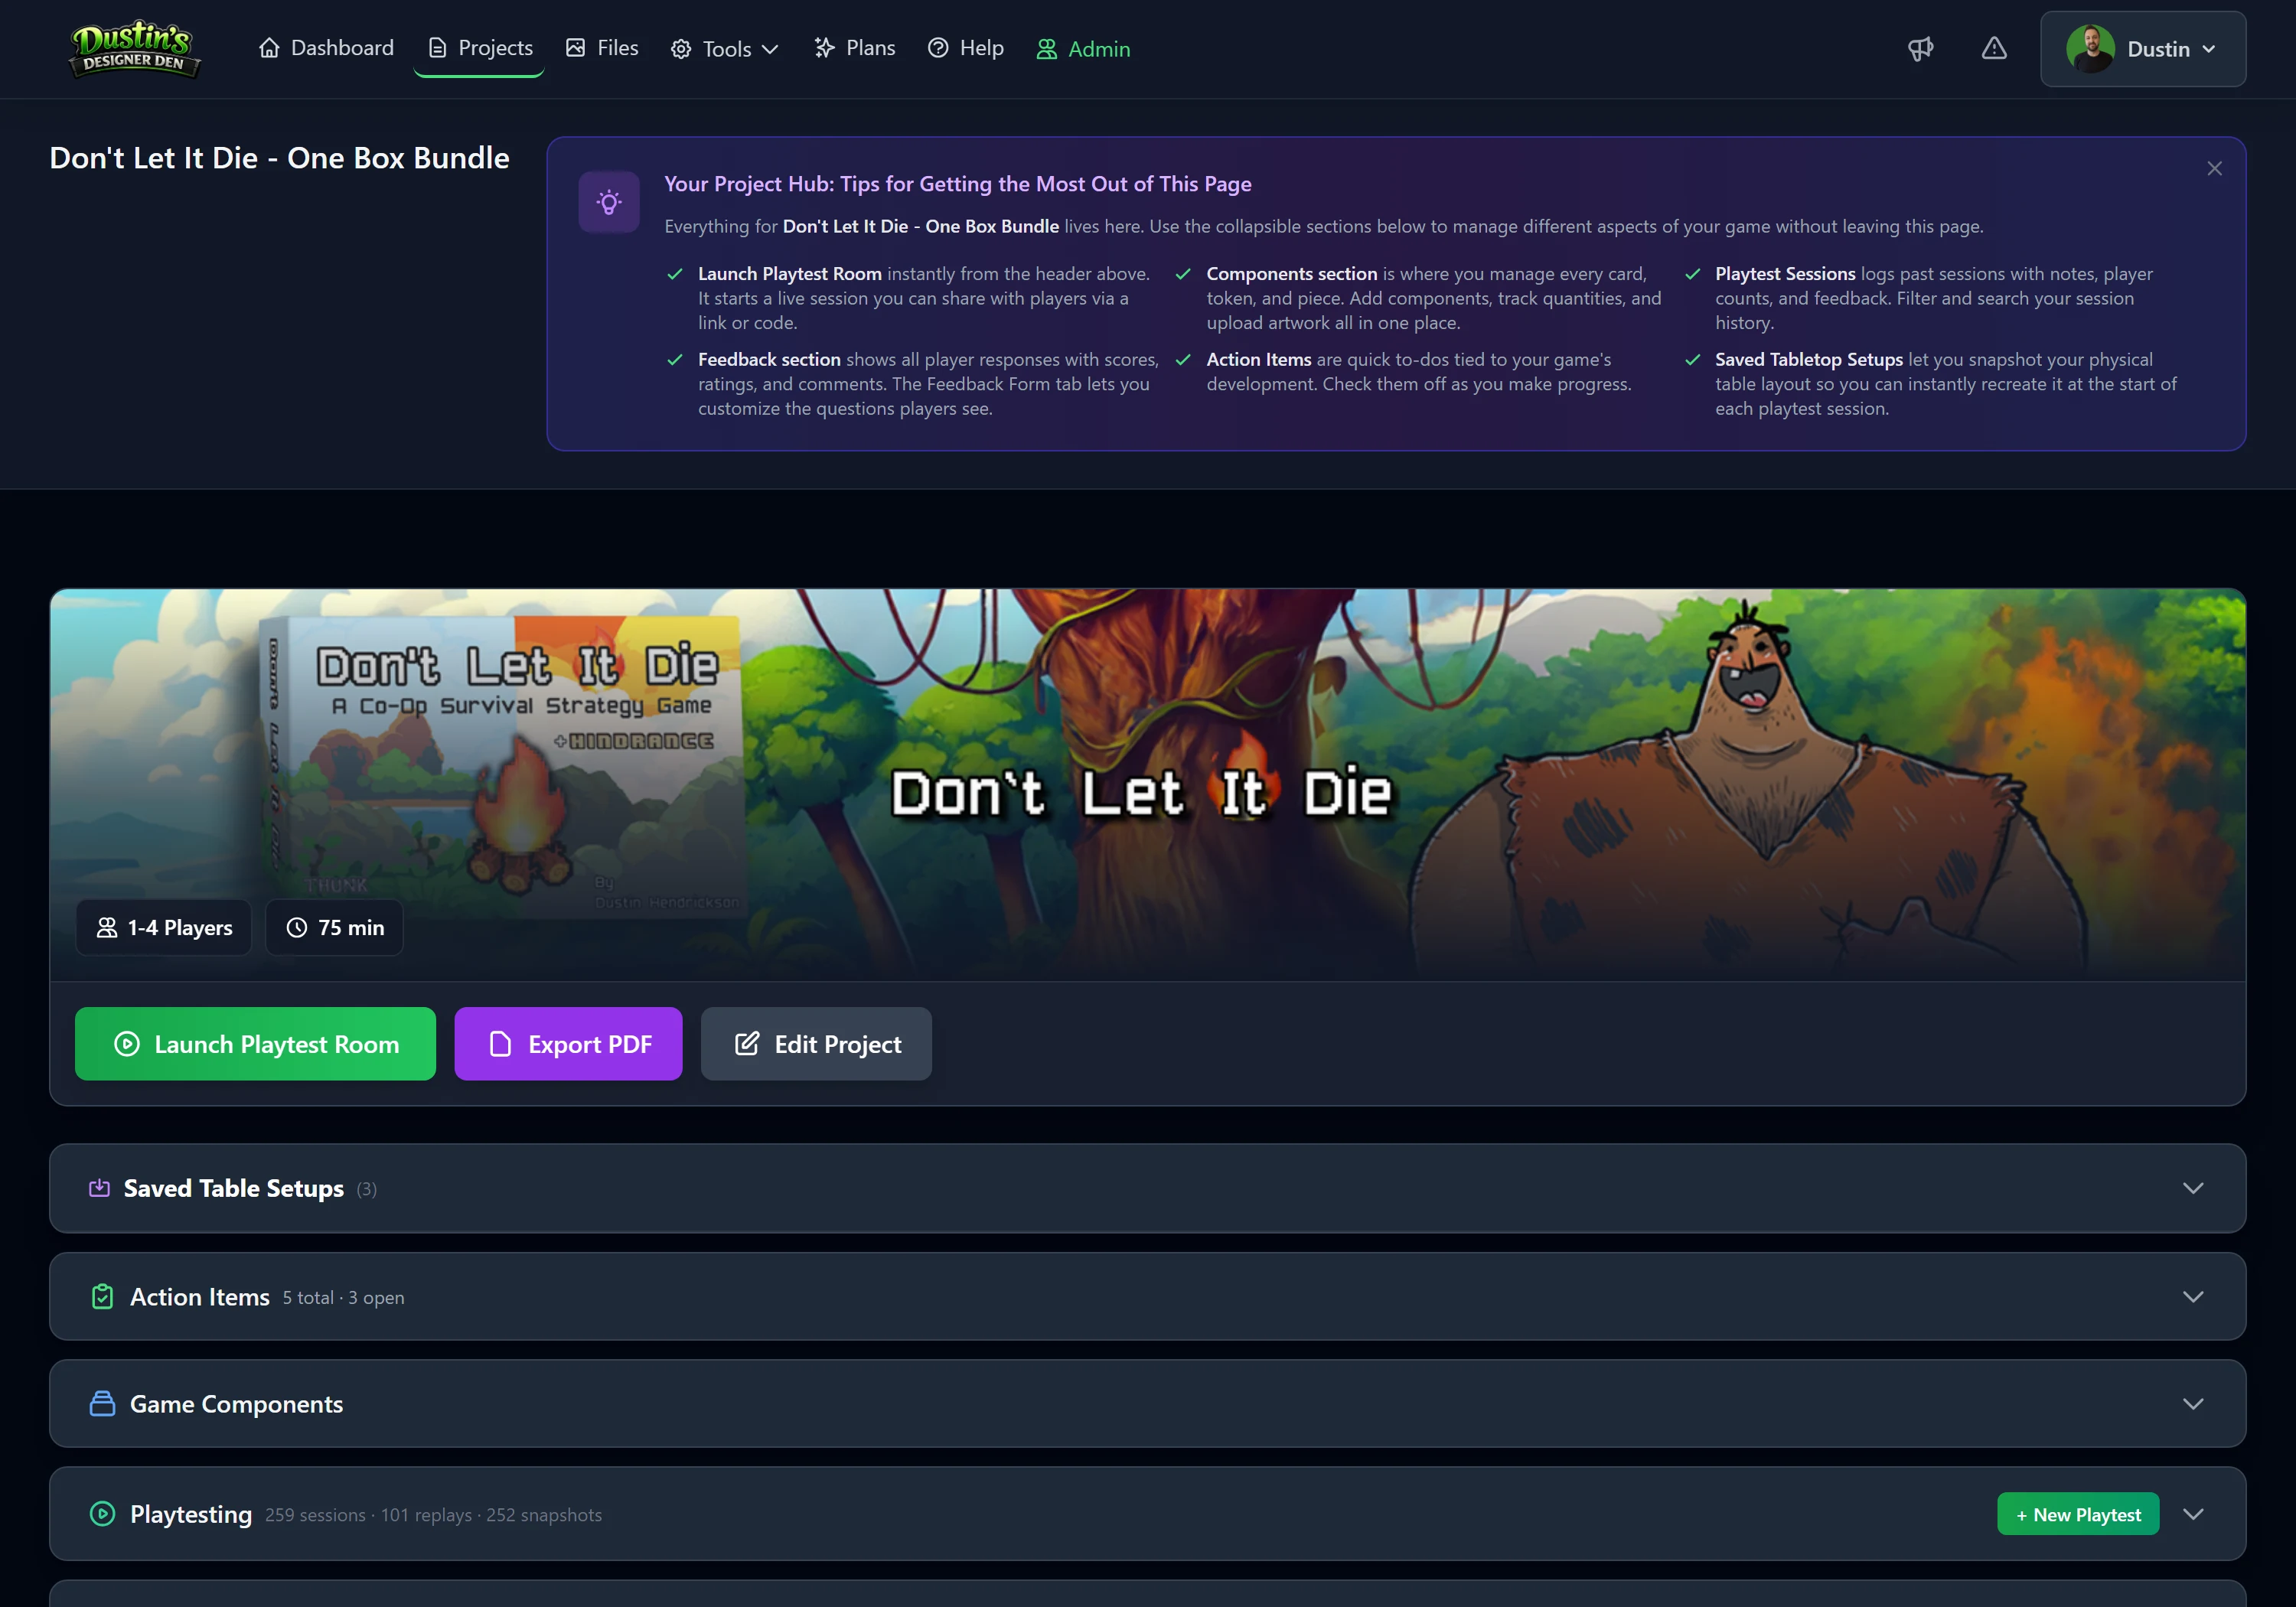
Each setup belongs to a project (see How Your Data Fits Together), and it persists in your account. A room's live table is temporary; a setup is how you make an arrangement permanent and reusable.
What a Setup Captures
A setup records the full state of the table at the moment you save it:
- every piece's position and rotation,
- face state (which side is up) and groupings (decks, stacks, bags),
- zones and text labels,
- snap points, and whether they're currently shown,
- your grid settings: type, size, color, whether it's shown, and whether snapping is on,
- your camera position and zoom, so the view is framed the same way each time,
- your Room Options: hand visibility, drag to hand, personal decks, whether players may save game progress, and admin mode,
- your player defaults: the player options everyone starts on, such as the rotation step or the table color and texture,
- and whatever is in players' hands at the moment you save.
Note
Player hands are part of the snapshot. If you save mid-game, everyone's held cards come back with the setup. Deal out before saving only if you want a setup that starts with cards already in hand.
Note
The table color and texture are only saved if you make them player defaults. Setups saved before player defaults existed keep the look they were saved with.
Note
A setup captures live copies on the table, not the underlying component blueprints. If you later change a component in your library, reopen the setup and re-sync or re-spawn to pick up the change. See Editing & Syncing Components.
Saving a Setup
Only the host can save a setup.
- Arrange the table and frame the camera exactly how you want play to begin.
- In the bottom toolbar, click the save icon to open the Save & Sync panel.
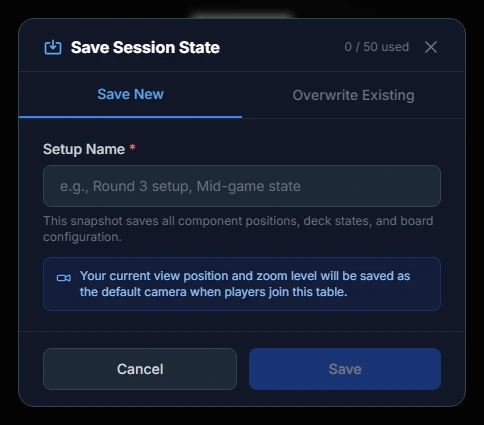
- Click Save. The Save Session State dialog opens.
- Give it a name and click Save. To update a setup you already have, use the Overwrite Existing tab instead of creating a second one.

To make one the project's default, go to the project page and click the next to it in Saved Table Setups. That control lives on the project page, not in the room.
Tip
Build one "clean start" setup per game, board down, decks shuffled, player areas marked, and you will never set up by hand again.
Loading a Setup
There are three ways a setup comes back:
- Automatically on launch: if a project has a default setup, Launch Playtest Room opens straight into it. With no default it opens a blank table, whether or not you have setups saved. There's no picker at launch, so to start from a non-default setup, launch it from the project page instead.
- Mid-session: open Save & Sync in the bottom toolbar and click Load to switch to a different setup without leaving the room.
- From the project: the Saved Table Setups section lists them all, and you can launch a room directly from any one of them.
From that list you can also duplicate a setup, delete it, set it as the default, and (on Pro) share it. Setups can't currently be renamed or reordered, so name it well when you save it, or duplicate it under a new name.
Pressing 0 at any time returns the camera to the setup's saved framing.
Free vs. Pro
The feature works on both plans; Pro raises the limit and unlocks sharing.
| Free | Pro | |
|---|---|---|
| Setups saved per project | 1 | 50 |
| Mark a default and auto-load it | Yes | Yes |
| Make a setup public (community lobby) | No | Yes |
| Private share links (custom slug, player cap) | No | Yes |
| Record sessions from a setup (replay) | No | Yes |
Important
On Free you keep one setup per project. Saving again overwrites your existing setup, or you can delete it first. Pro raises this to 50 per project, so you can keep separate setups for different player counts, scenarios, or test variants.
Sharing a Setup (Pro)
A shared setup lets other people host a room pre-loaded with your game's pieces, even when you aren't online. From the project's Saved Table Setups, open a setup and:
- Make it public to list it in the community lobby, where anyone can pick it up and host.
- Generate a private share link with an optional custom slug (like
/play/setup/my-game), a cap on players per room, and the ability to revoke it later.
Tip
Public setups are a great way to demo your game. Send a link and a playtester can be at a fully set-up table in seconds, with no account and nothing to install.
Note
If a project becomes read-only (you downgraded to Free, or locked the project to free up a slot), its public and shared setups are automatically turned off. Unlock the project to share them again.
Related: How Your Data Fits Together · Starting & Joining Rooms · Saving Game Progress · Session Replay · Plans & Pricing