Quick Start Guide
From zero to a live game at a shared virtual table, in about five minutes. This guide takes you through creating a project, adding components, launching a room, inviting players, and the controls you'll use every session.
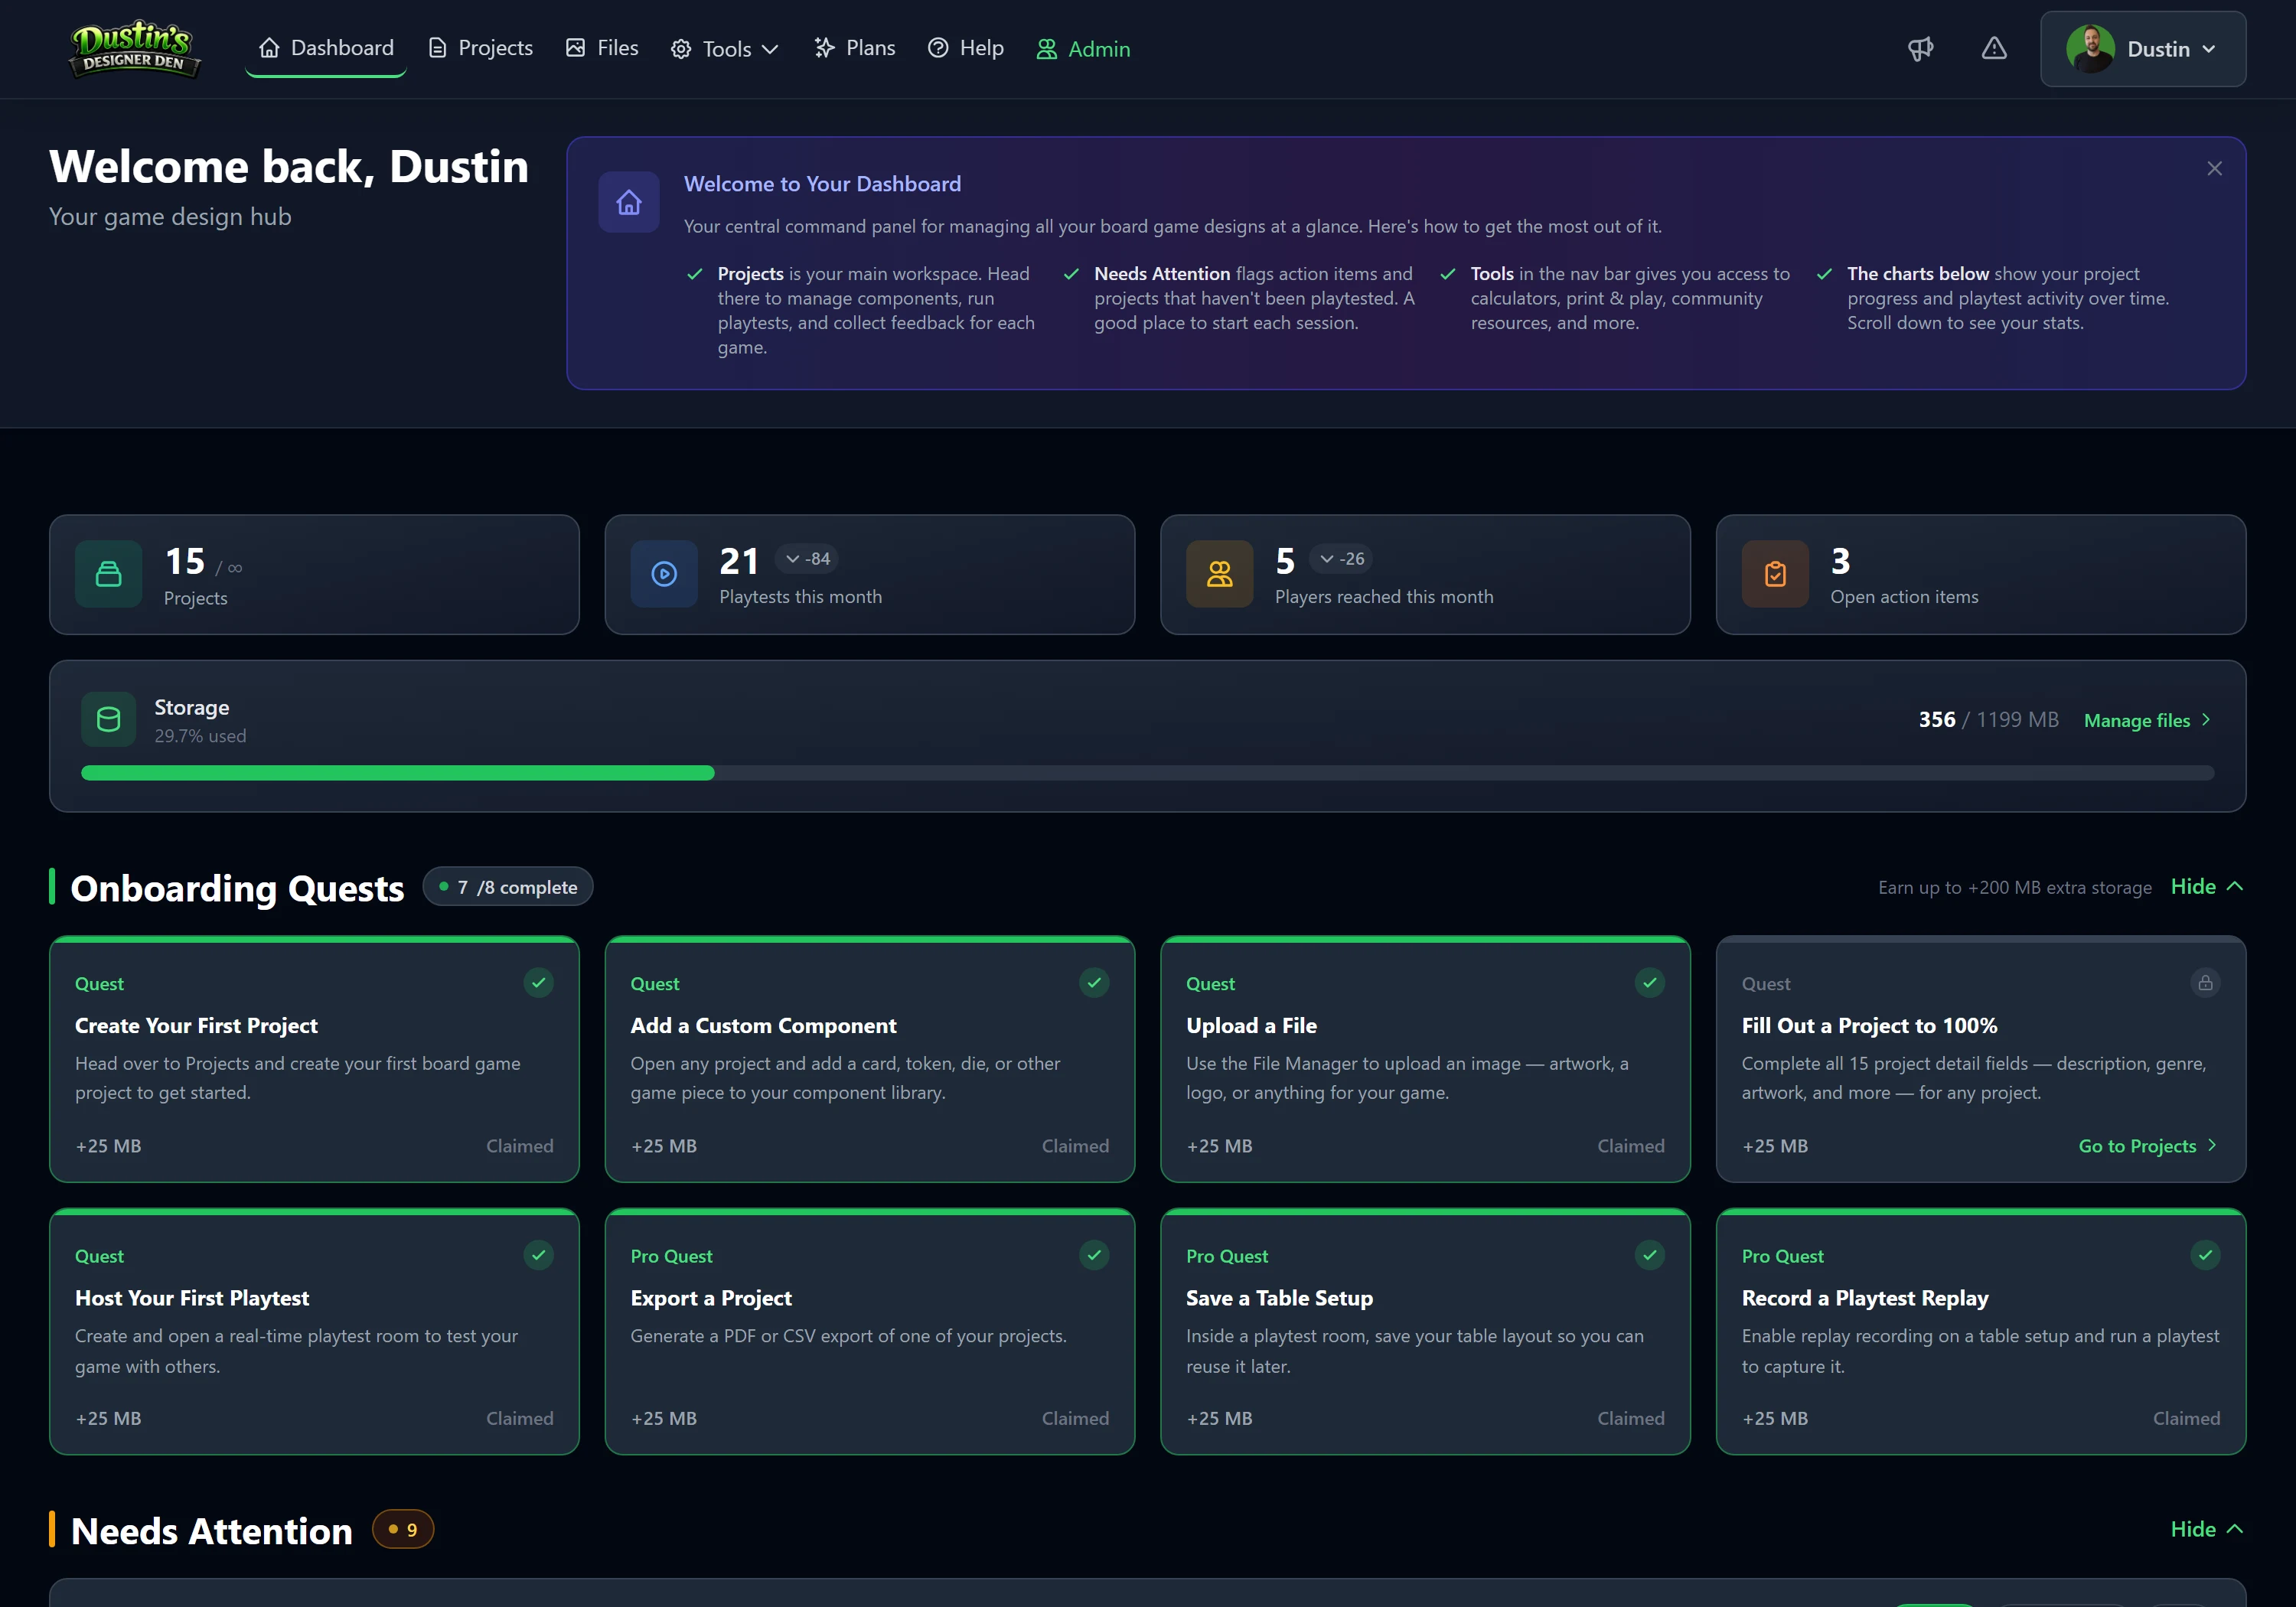
Tip
In a hurry? You can skip straight to a playtest with the built-in generic dice, tokens, and cards, no setup required. Jump to Start a Playtest Room.
1. Create Your Project
Your project is the home for one game, its components, setups, and playtest history.
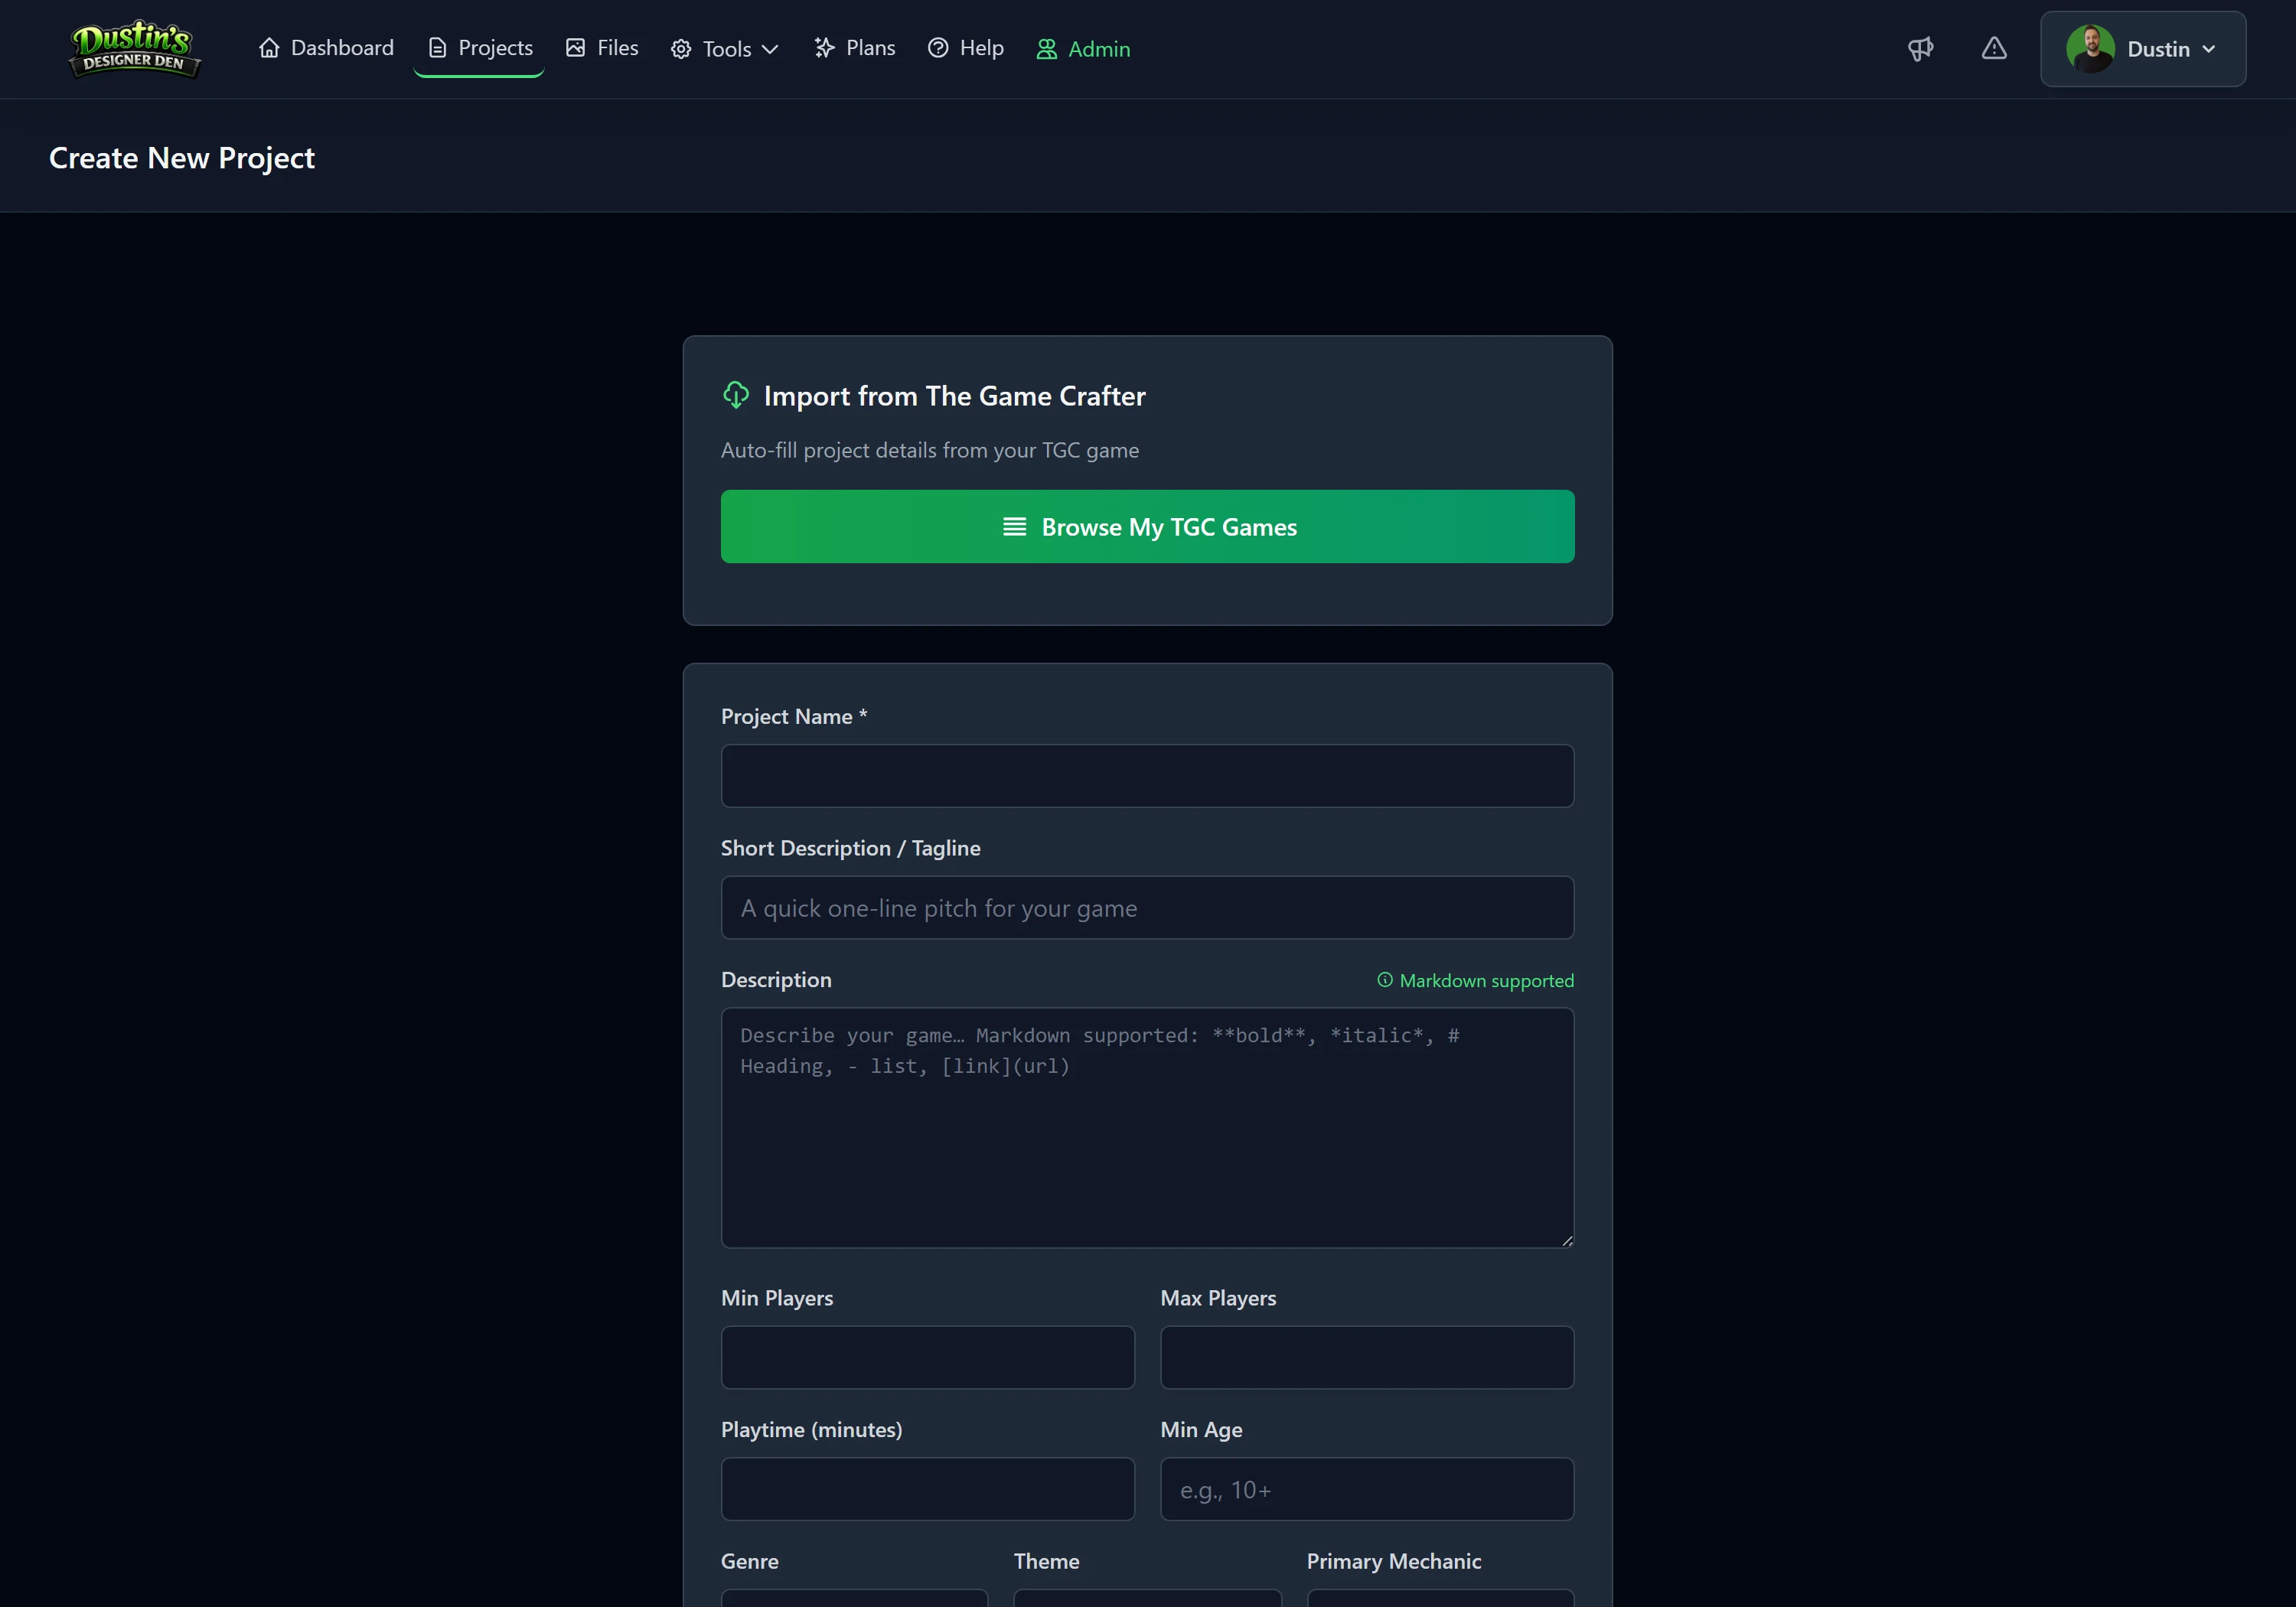
- Log in (or sign up, it's free).
- Click Projects in the navigation. This is your design workspace.
- Click + New Project, then give your game a name and short description.
- Save. You're ready to add components.
2. Add Components
Components are your game's pieces, cards, tokens, dice, boards, and more. You can build them by hand or import a game you've already set up elsewhere, whatever fits how you work.
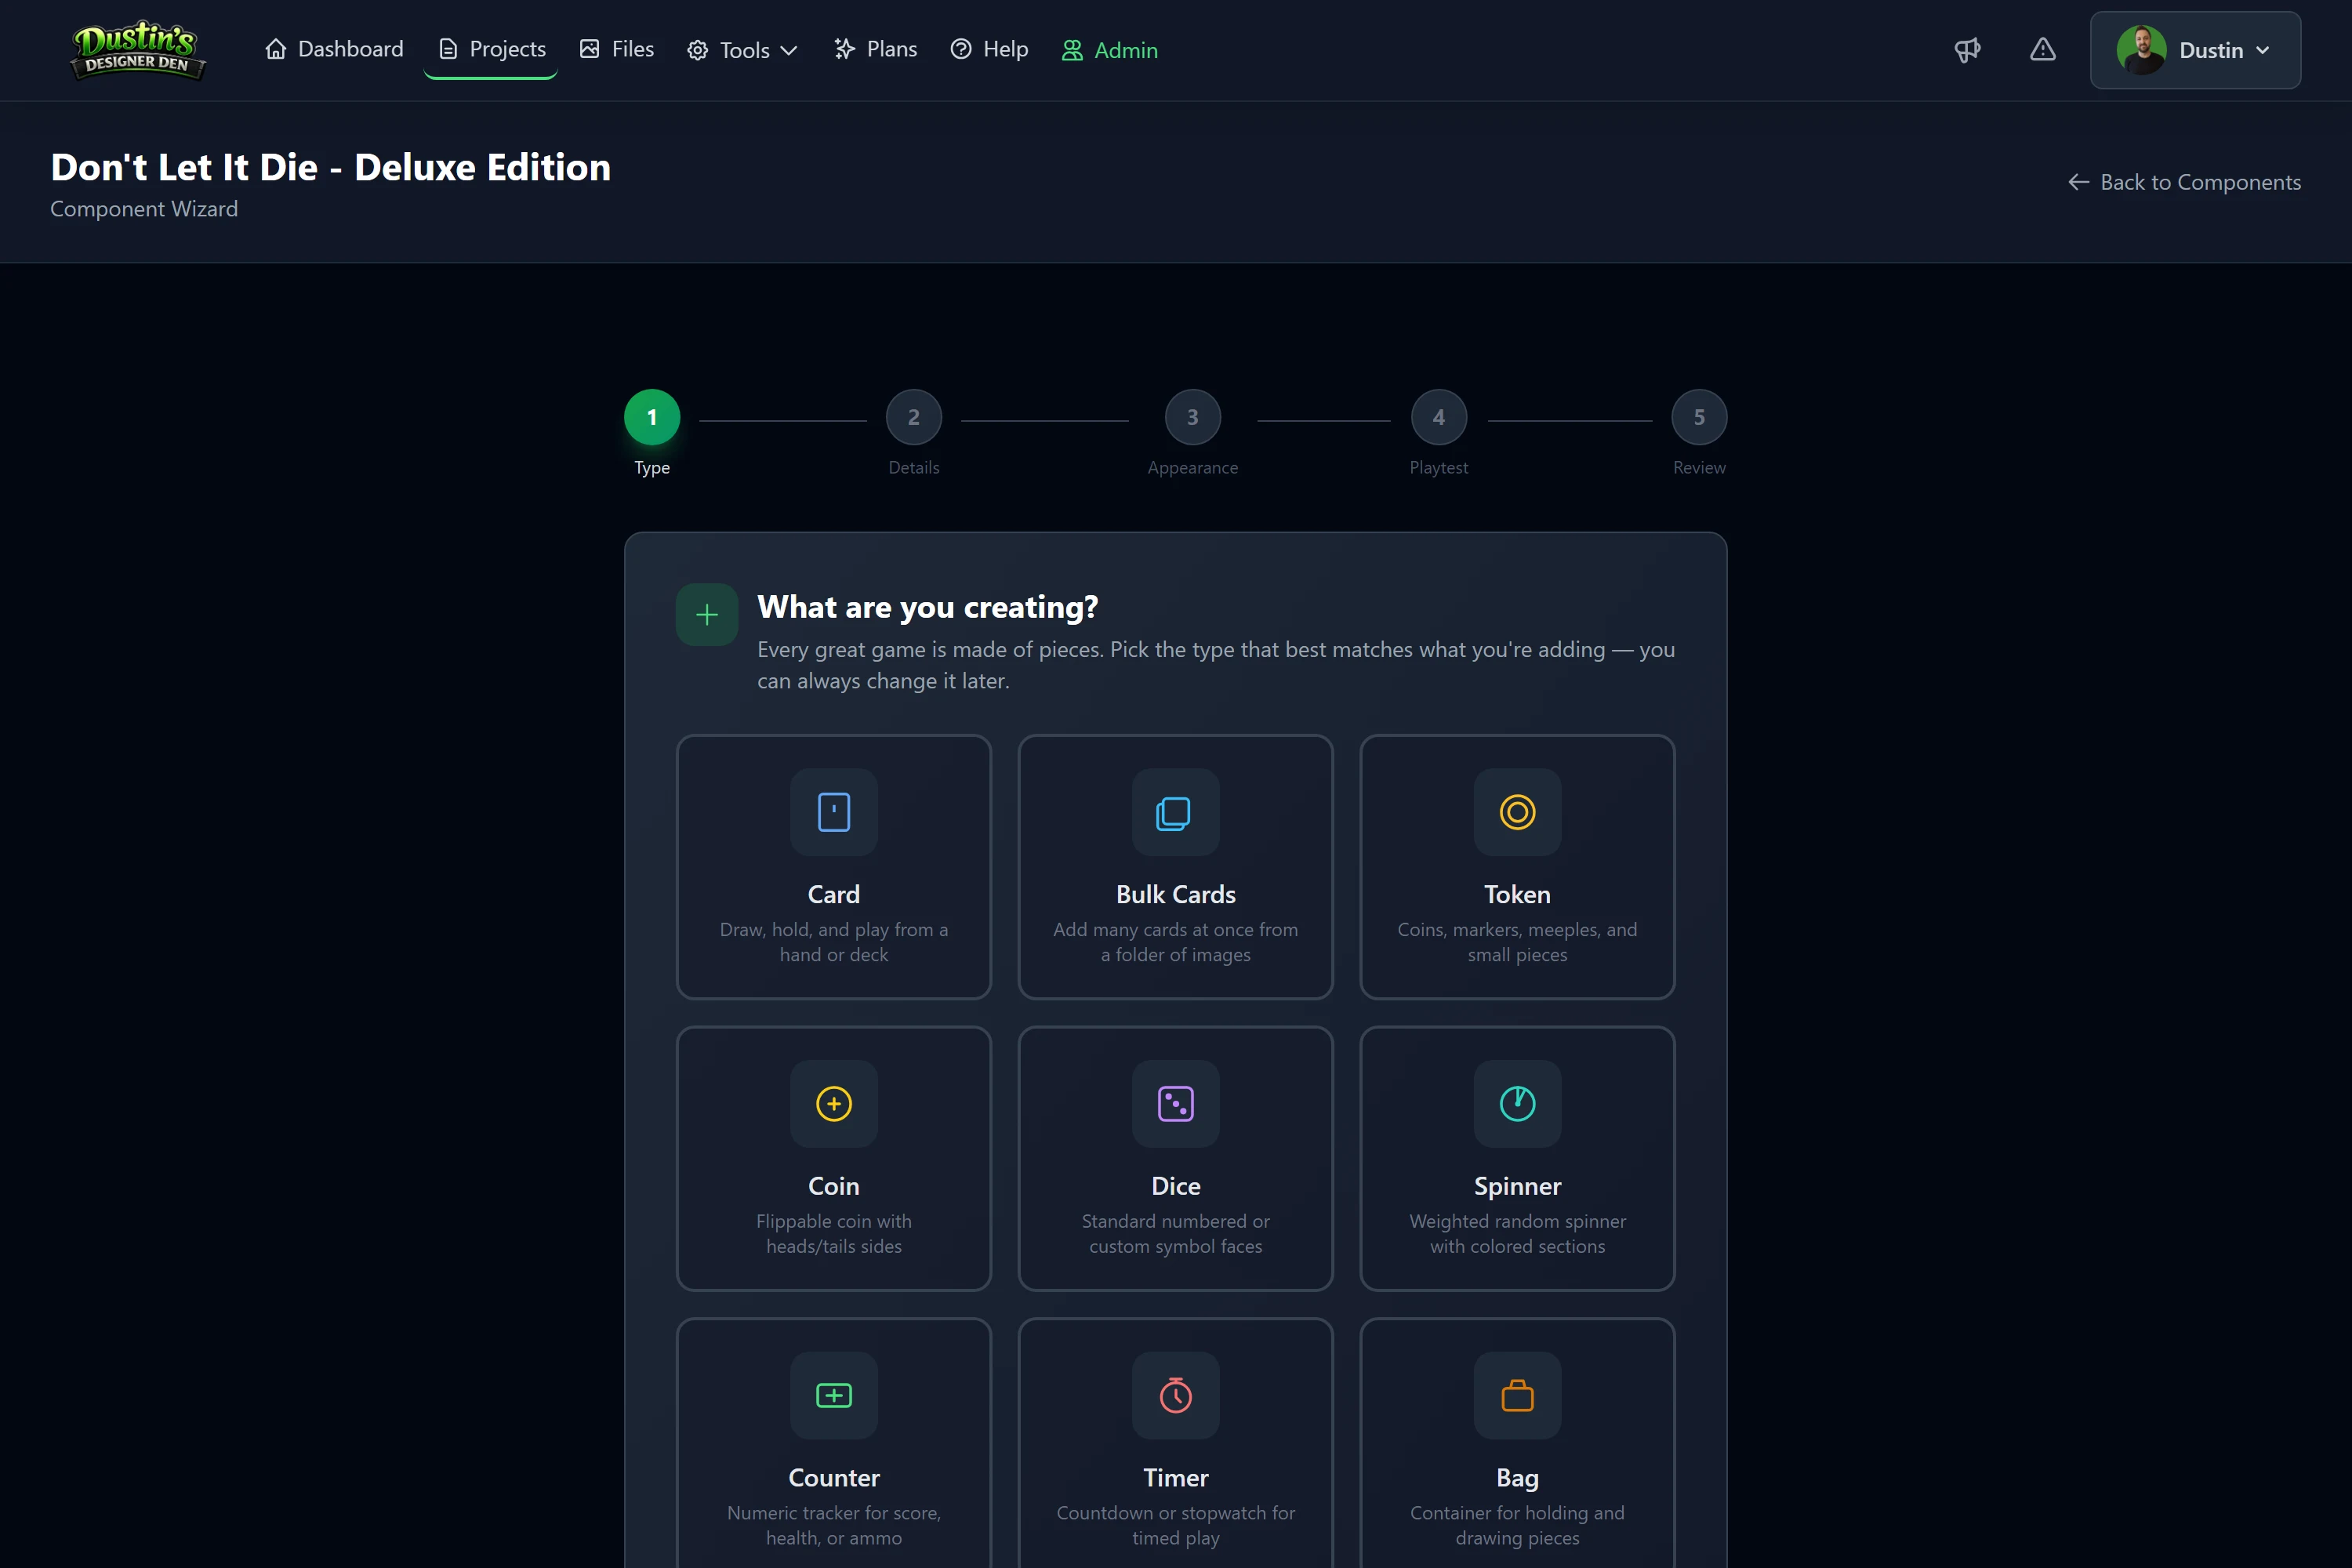
A, Component Wizard (recommended)
- Open your project and click the Components tab.
- Click Component Wizard, a friendly, step-by-step setup.
- Pick a type: Card, Bulk Cards, Token, Bulk Tokens, Coin, Dice, Spinner, Counter, Timer, Bag, Pack, Board, or Rulebook.
- Fill in the details the wizard asks for:
- Name and quantity
- Image(s), optional, but they bring the table to life
- For a whole deck or token set at once: pick Bulk Cards or Bulk Tokens and point it at a folder of images
- Finish. The component is saved and ready to spawn in any playtest room.
B, Build it live at the table
Prefer to design by feel? In a playtest room, open the Generic Objects panel, spawn a blank piece, style and size it on the table, then right-click it → Save as New Component (in the piece's right-click menu).
C, Import an existing game
Already have your game set up somewhere else? Bring it in instead of retyping everything:
- The Game Crafter: import a game you've built on The Game Crafter, components, images, and pricing all at once, and keep it in sync as you change things there.
- Dextrous: point Designer Den at a Dextrous JSON feed to turn your grid of component data into components, on demand or automatically.
- Tabletop Simulator: upload a TTS save and get your components and the table layout, saved as a setup you can open in a room.
- CSV / JSON: on the Components tab, download a template, fill it in a spreadsheet, and upload to create dozens of components in one go.
Note
Nothing here is permanent. You can edit any component later, even just naming your pieces is enough to start playtesting today.
3. Start a Playtest Room
A playtest room is a live virtual tabletop. Players join from a link in their browser, no download, no account. There are a few ways to start one:
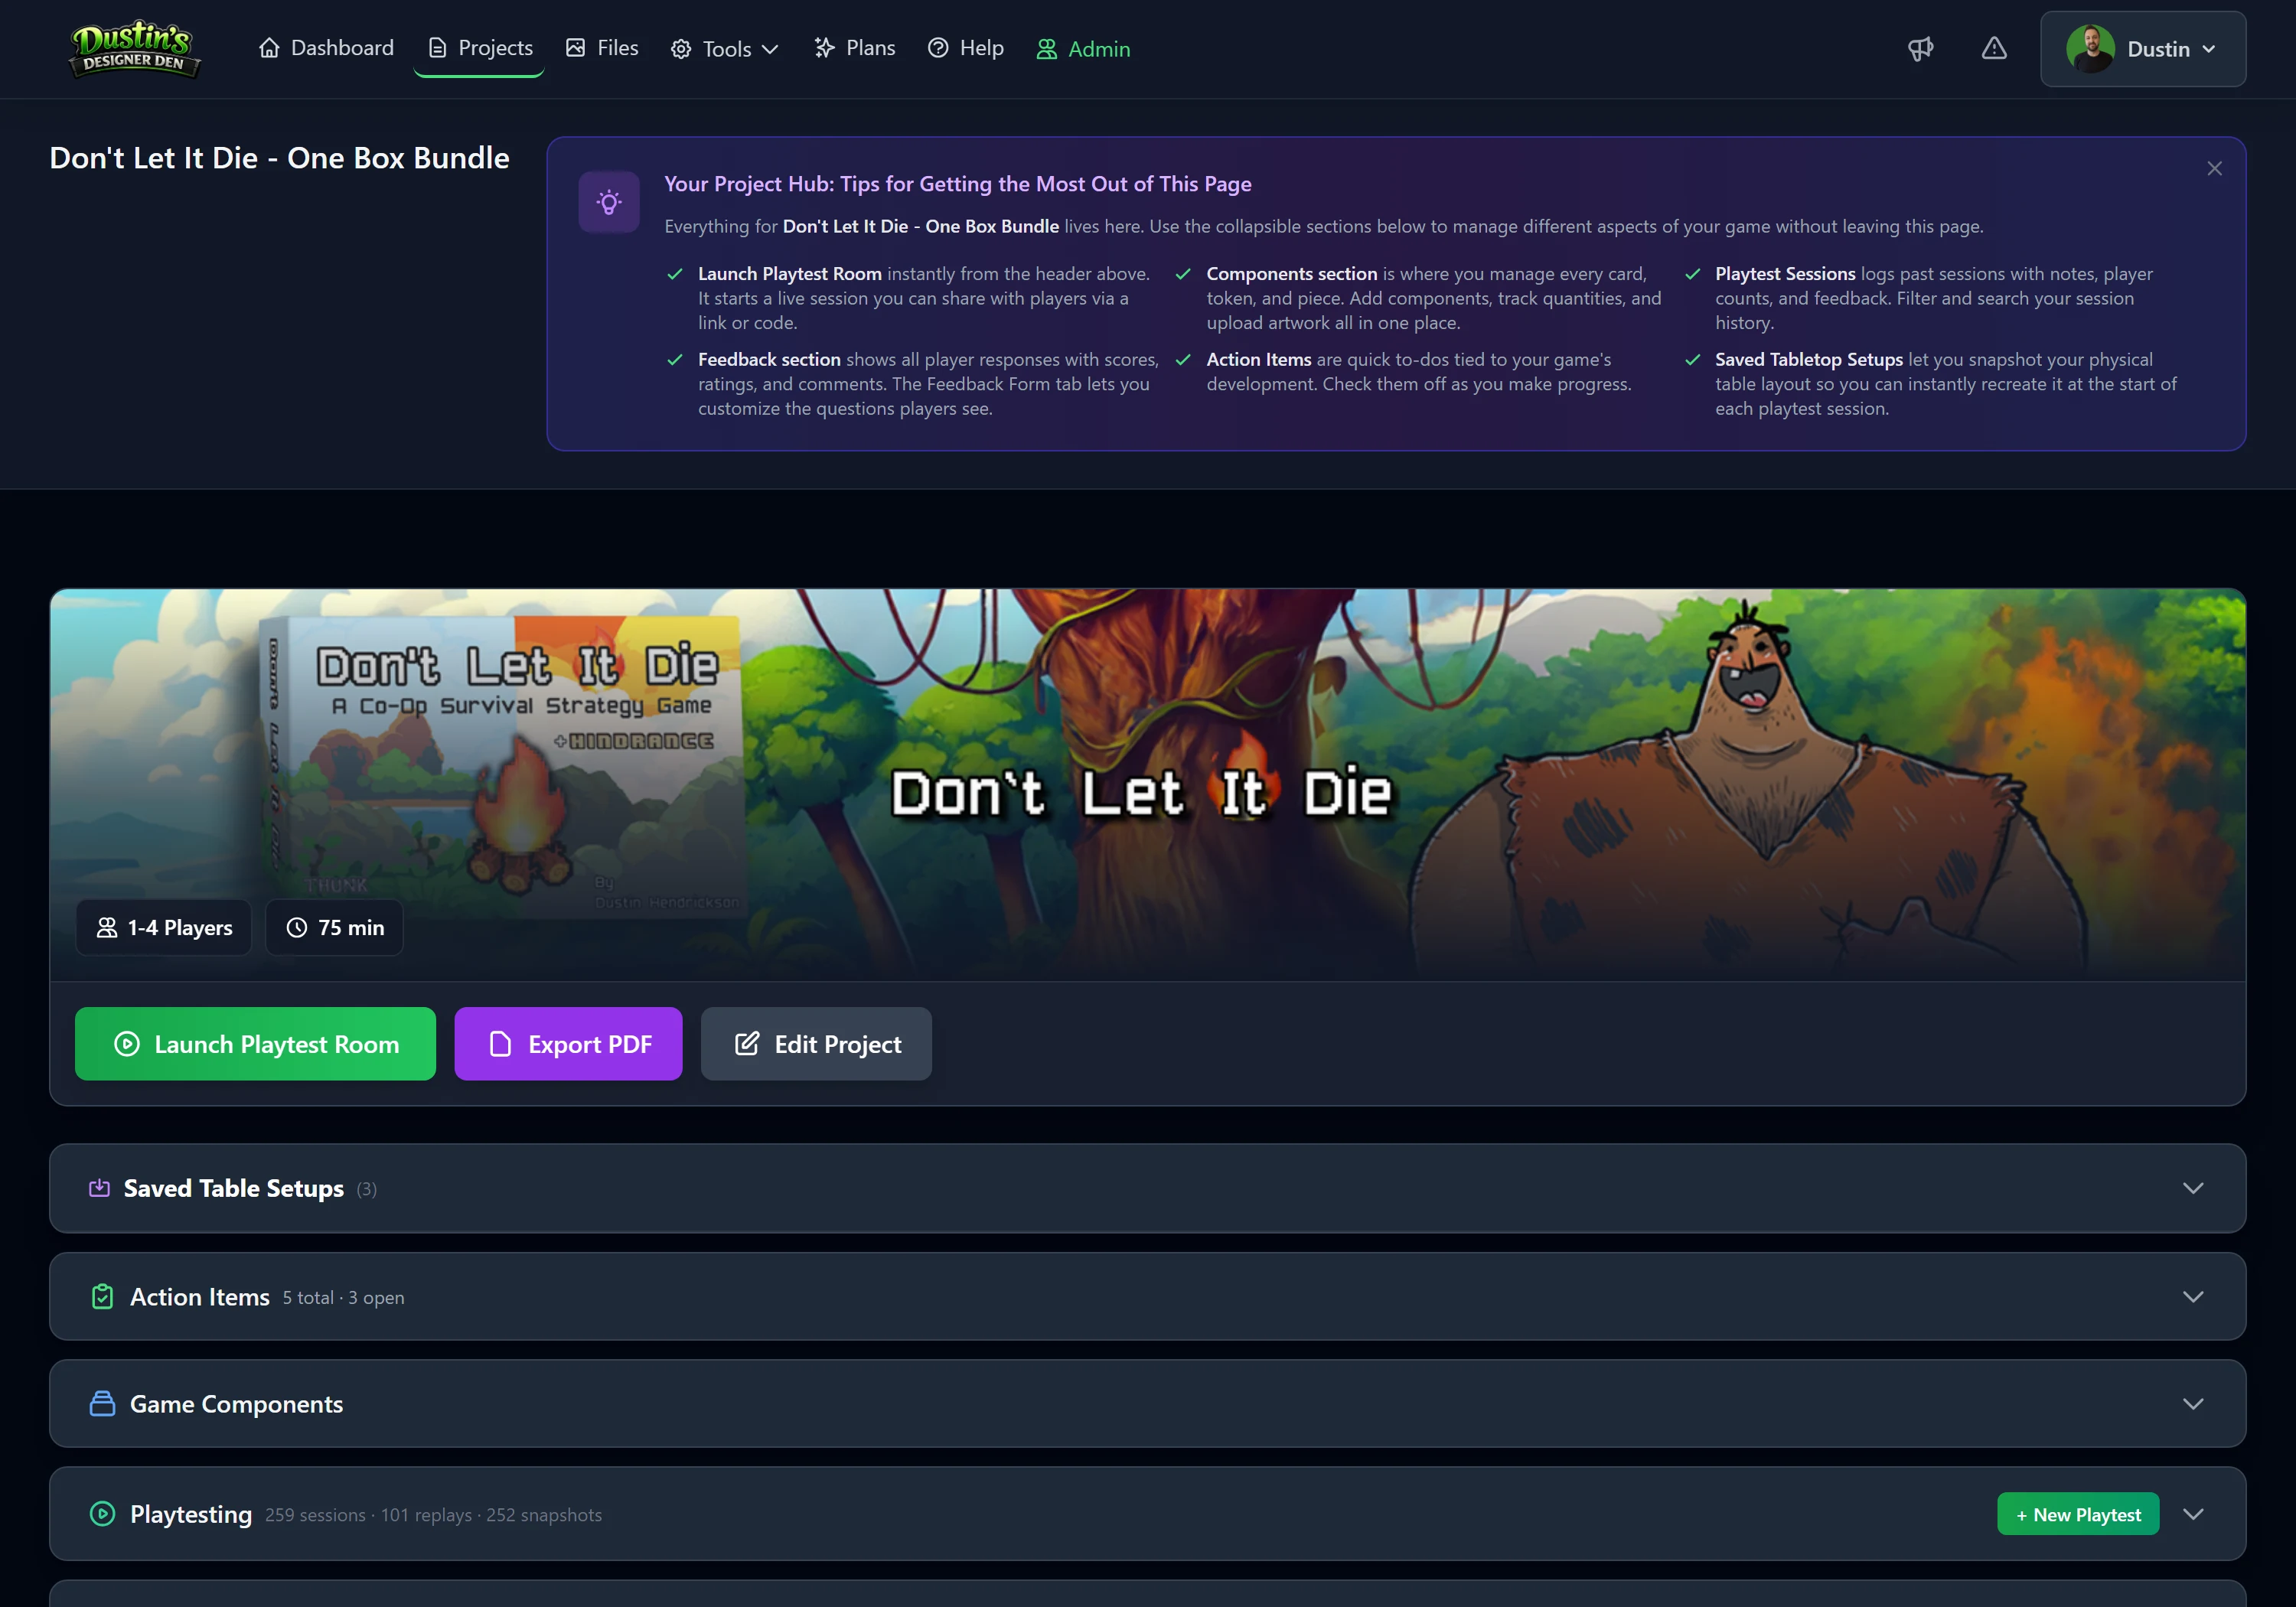
- From the Projects page: click Start Playtest Room on the project's card (the quick action).
- From the project page: click Launch Playtest Room in the header. This opens a blank table, or loads the project's default saved setup if you've marked one.
- From a saved setup: open the project's Saved Table Setups and launch a room pre-loaded with that exact arrangement.
Either way, you land on the table as the host, with your components in the sidebar.
4. Invite Players
Once you're in the room:
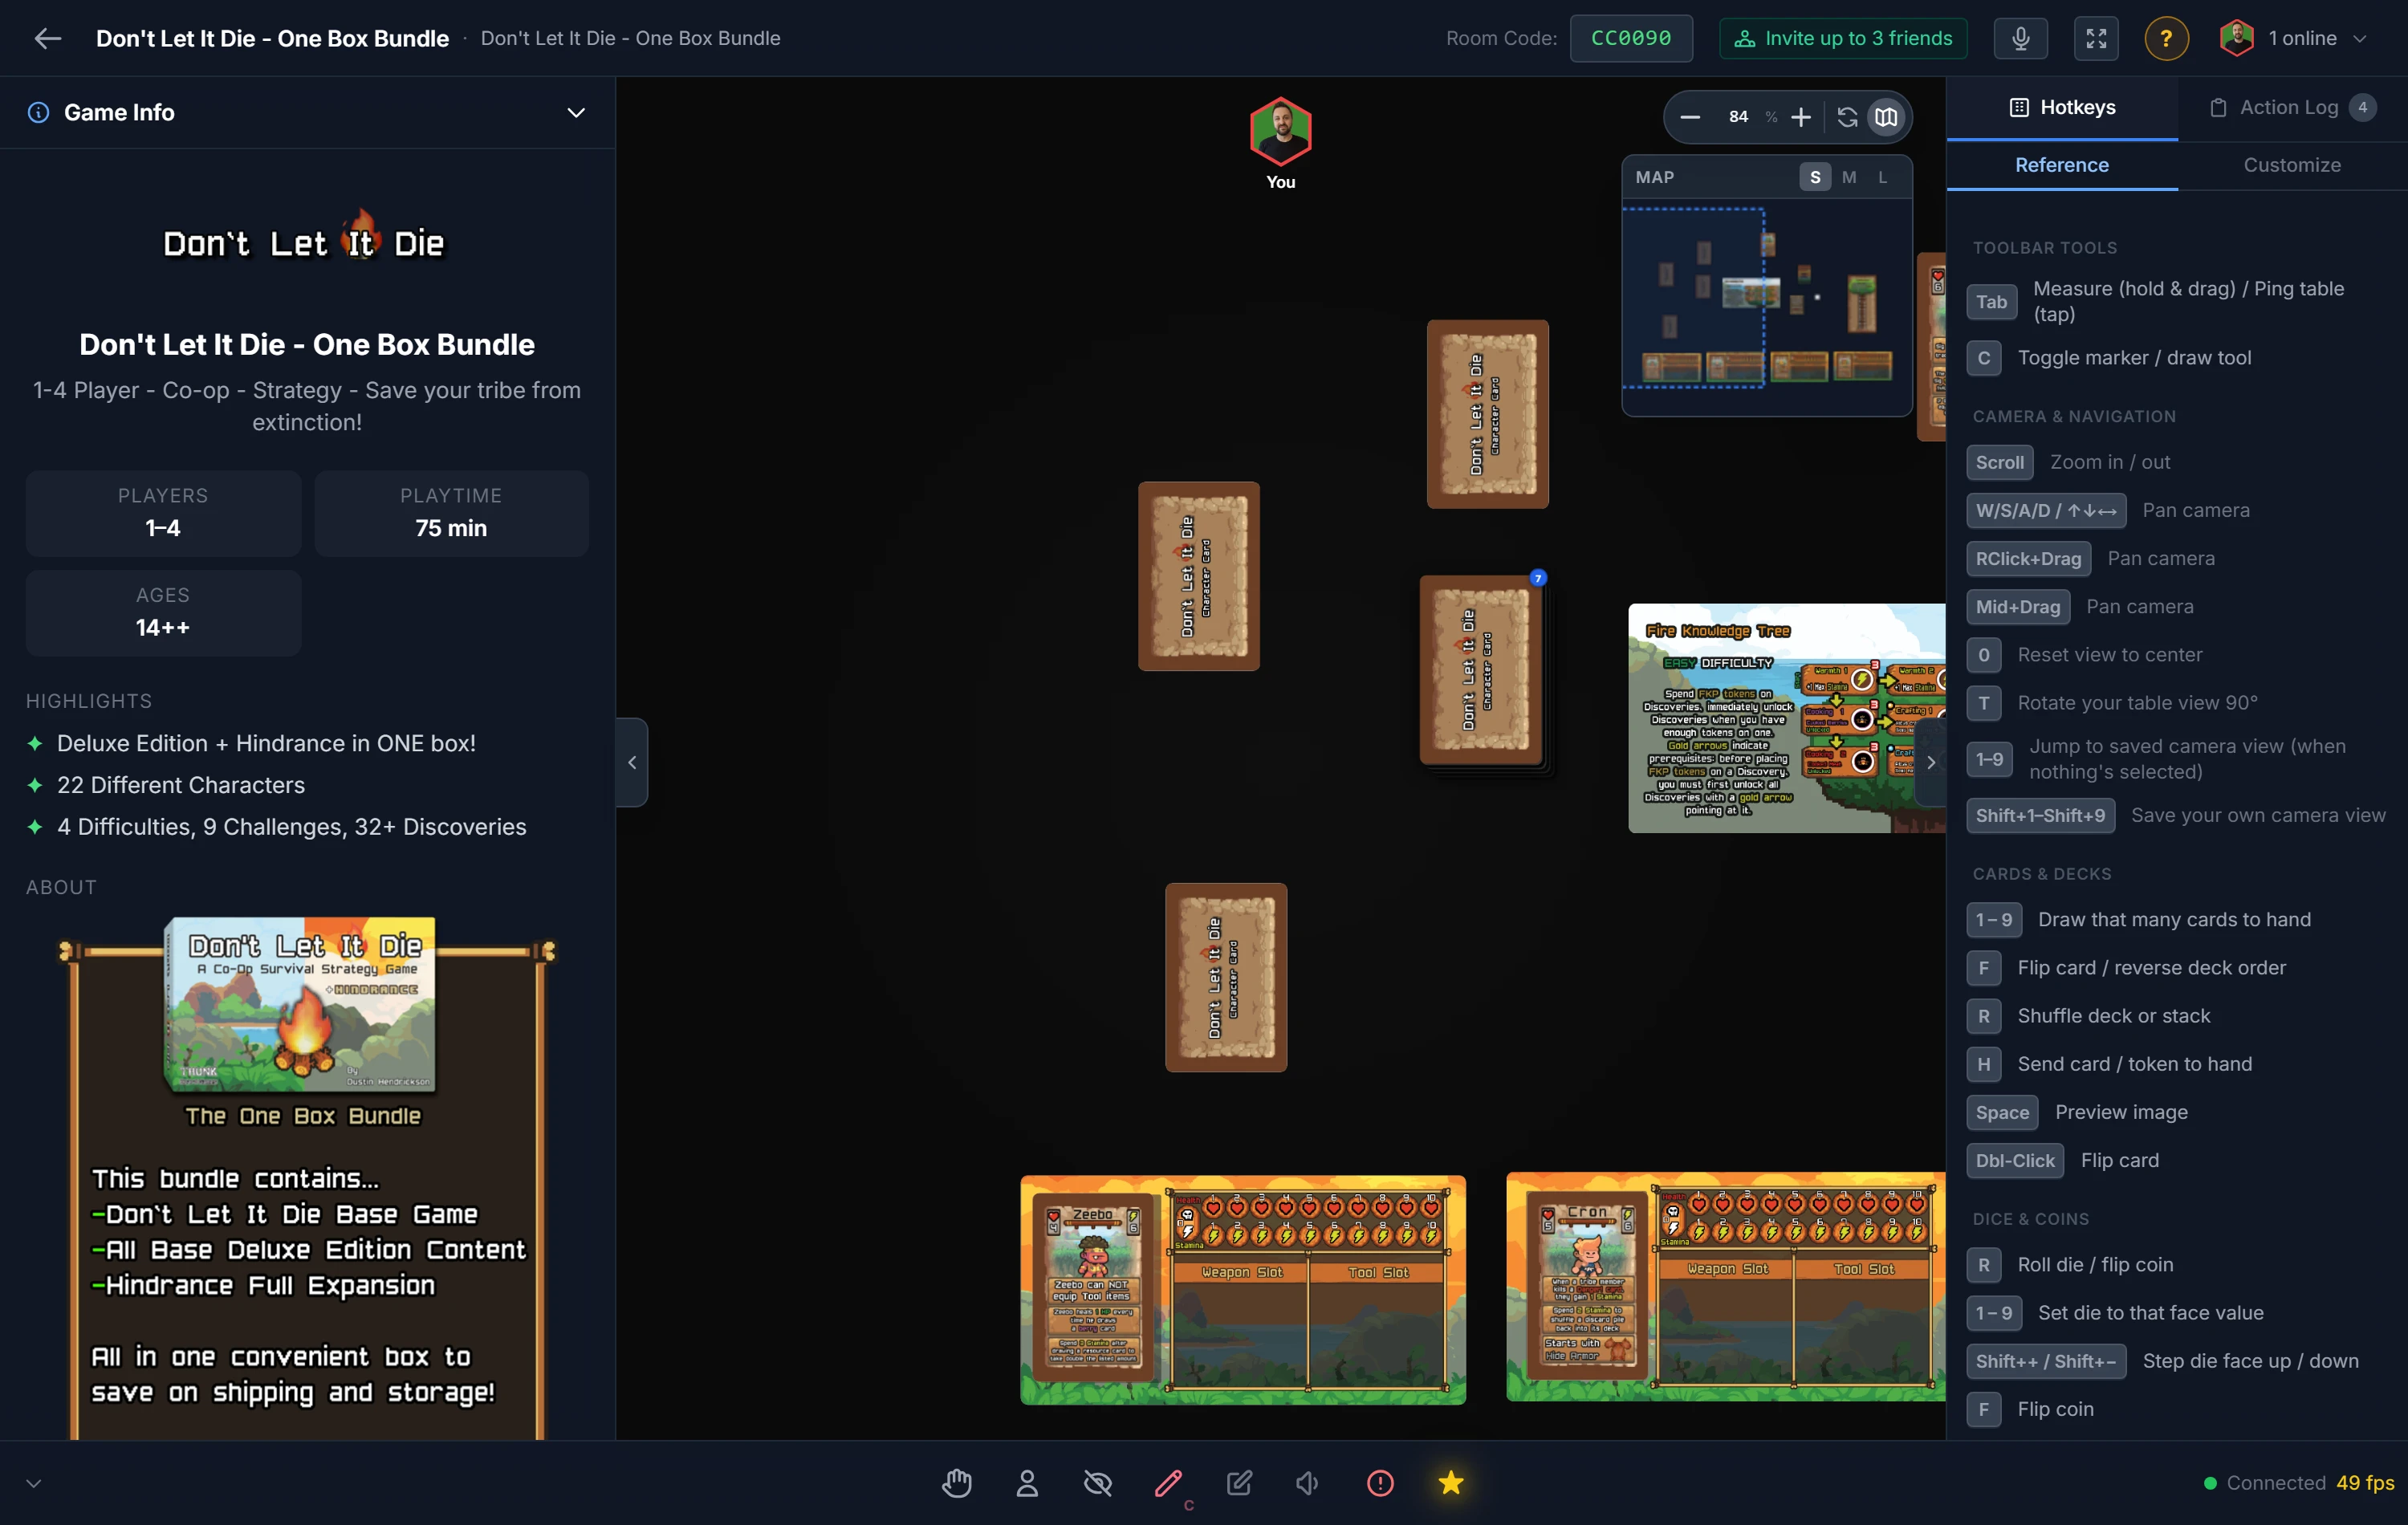
- Find your room code at the top, a 6-character code like
ABC123. - Click the code to copy the invite link (or just share the code).
- Send it via Discord, Slack, email, or text. Players enter the code and a name. That's it.
Tip
Every room has built-in voice chat. Click the mic in the toolbar to talk with the whole table, no Discord call required.
5. Start Playing
Here are the controls you'll reach for constantly:
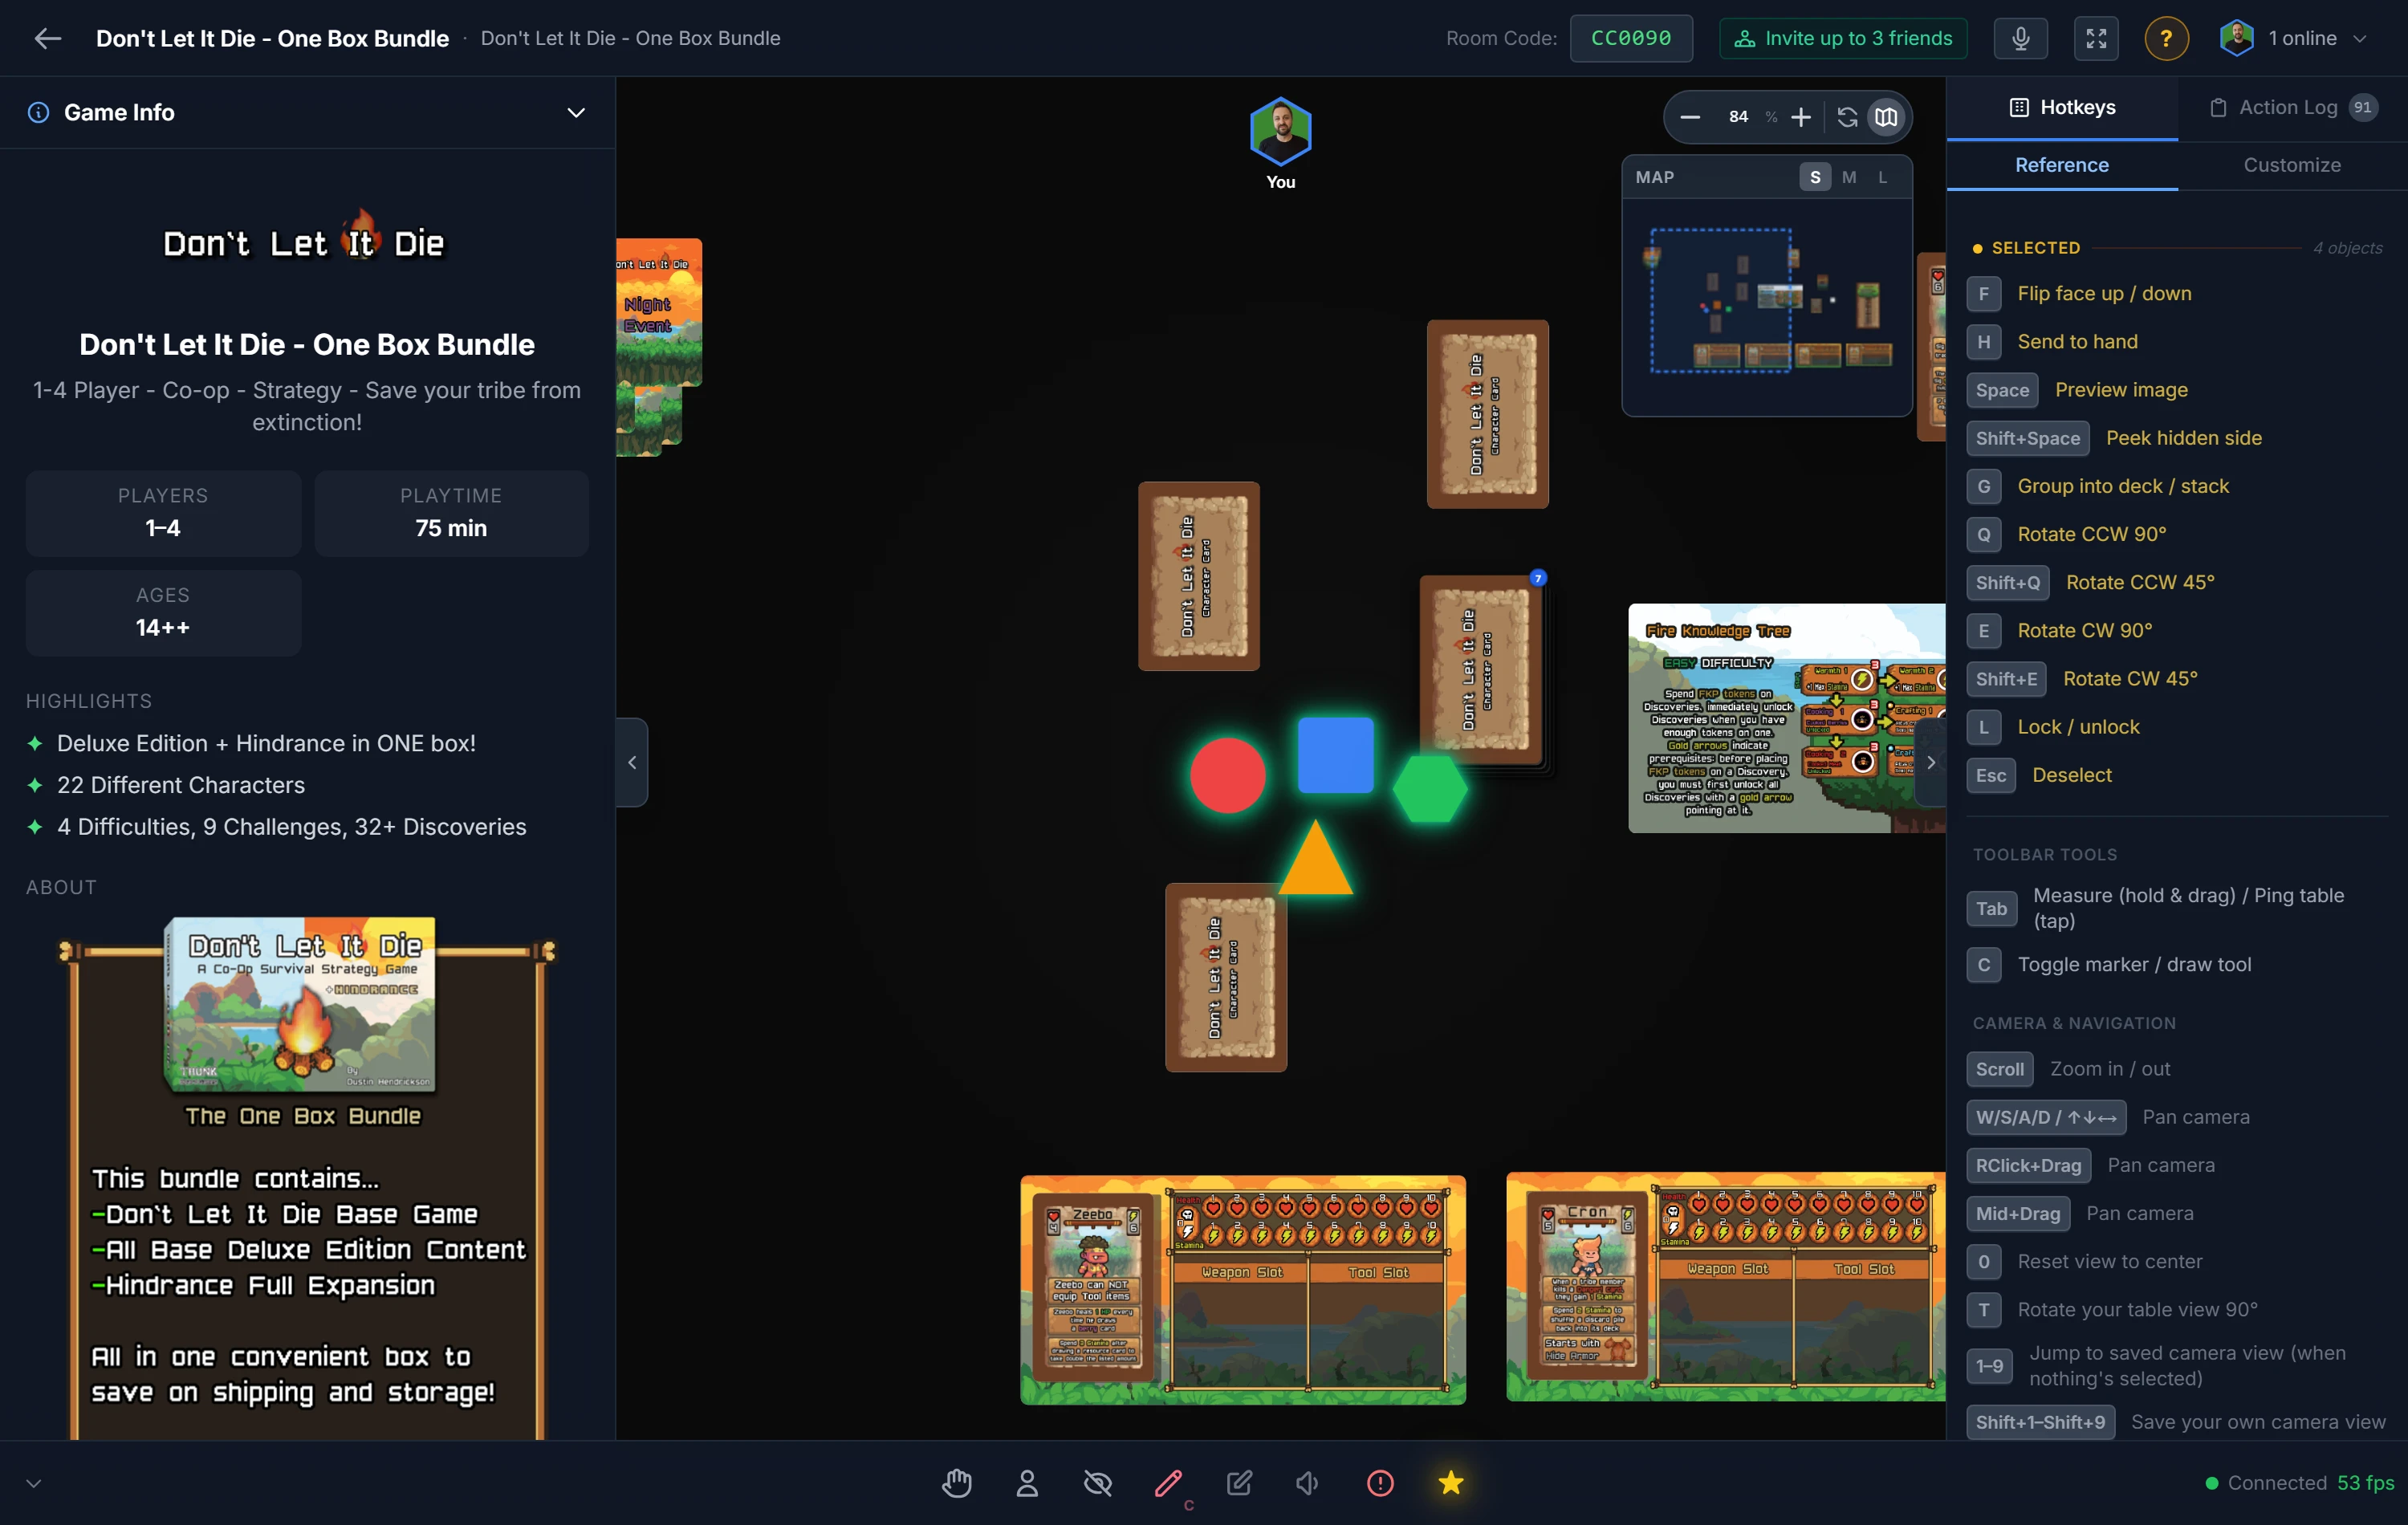
| Action | How |
|---|---|
| Spawn a component | Click it in the left sidebar |
| Move a piece | Click and drag |
| Rotate | Q / E (90°), Shift+Q / Shift+E (45°) |
| Rotate your view | T |
| Flip a card | F (or double-click) |
| Draw from a deck | Double-click the deck (or 1–9 to your hand) |
| Shuffle a deck | Select it, press R |
| Preview large | Space |
Tip
Everyone sees everyone else's cursor moving in real time; it really does feel like sitting around the same table.
Important
Components don't appear on the table automatically. You spawn them from the sidebar each session, or load a saved Setup to restore a full arrangement instantly.
6. Save Your Table Setup
You've just laid out a board, shuffled a deck, and put player areas where you want them. A setup saves that whole arrangement so you never do it by hand again. This is the step that turns a five-minute set-up into a one-click one, and it's the piece most people miss on their first session.
Saving
Find the save icon in the bottom toolbar. It opens the Save & Sync panel:

- Arrange the table and frame the camera how you want play to begin.
- Open Save & Sync and click Save.
- Give the setup a name and click Save.
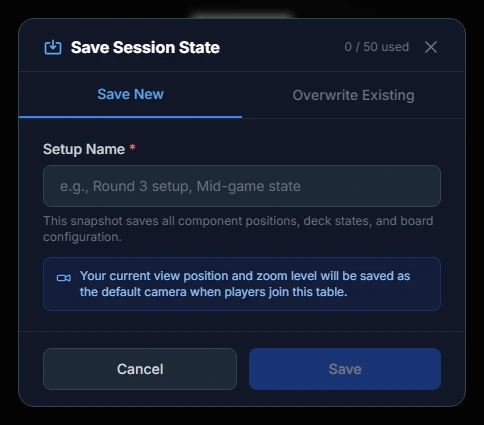
Two things worth noticing in that dialog:
- Your camera is part of the snapshot. Whatever you're looking at, and how far you're zoomed, becomes the view players get when they join. Frame the table before you save.
- Overwrite Existing is a separate tab. Use it to update a setup you already have instead of creating a second one.
The counter in the corner shows how many you've used. Free accounts keep one setup per project, so saving again replaces it. Pro raises that to 50, enough for separate setups per player count or scenario.
Loading
- Automatically: mark a setup as the project's default (the button next to it on the project page), and Launch Playtest Room opens straight into it.
- Mid-session: open Save & Sync and click Load to switch arrangements without leaving the room.
- From the project page: the Saved Table Setups section lists them all, and you can launch a room directly from one.
Tip
Press 0 at any time to snap the camera back to the setup's saved framing. Handy after someone has panned off into empty table.
Full details, including sharing a setup publicly or by private link, are in Saved Table Setups.
What's Next?
Go deeper
- Full Realtime Playtest Guide, every tool, zone, and host control
- Component System Guide, images, costs, and table display settings
- Keyboard Shortcuts Reference, the full cheat sheet
Level up your design
- Probability Calculators, pressure-test your dice and card odds before the session
- Playtest Analytics, see which cards get played, how rolls land, and structured feedback
- Save table setups and spin up persistent rooms that stay open 24/7
Share it with the world
- Finding the Right Publisher and Submitting a Pitch, put your game in front of publishers
- Print & Play, export a print-and-play PDF to test on paper
Common Questions
Do my players need accounts? No, they join anonymously with just the room code and a name.
Can I test without building components? Yes. Generic dice, tokens, cubes, cards, and boards are built in, so you can start immediately.
How many players can join? Free rooms support up to 6 players; Pro rooms up to 10. See the Plans page for details.
What happens when I close the room? Everyone disconnects. You can collect feedback from the session and open a fresh room anytime.
Is there a mobile app? Not yet, but the web interface works on tablets and phones in landscape. Desktop or laptop gives the best experience.